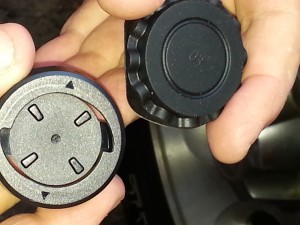
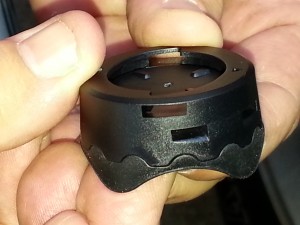
Before you can use the Magellan Cyclo 100, it needs to be installed onto your bike. This is a very easy task, and the Cyclo 100 comes with everything that you need to complete this task.

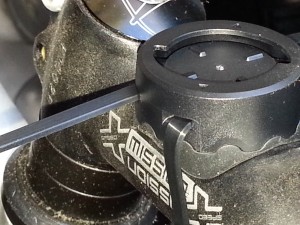
The “everything” means that there’s a mount that you install onto the bike using a couple of cable ties. There are two mounts, and you choose the one with the correct profile to fit the tubing for your bike. You thread the cable ties through the mount, and secure the mount to the bike by tightening the cable ties.

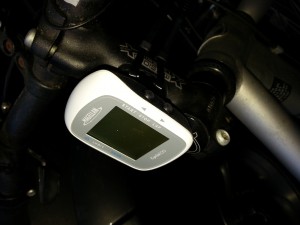
The Cyclo 100 twist-mounts onto the mount, permitting you to remove the unit to permit recharging, synching with your PC, and also for security, as the unit easily fits into your pocket, and if it’s actually in your pocket, then it makes it somewhat difficult for would-be thieves to take it.


All in all, the installation is a very simple process, requires no tools nor any special skills, and should not take more than a minute or two.
Because the unit uses GPS to determine where you are and your riding parameters, there’s no need to, for instance, install any wiring or linking this with a rotating magnet or optical device on your bike’s wheels. To use it, just charge the battery, mount it on the bike, and turn it on.
And here’s a frightening image for you: yes, that’s right: me, on my bike.

